
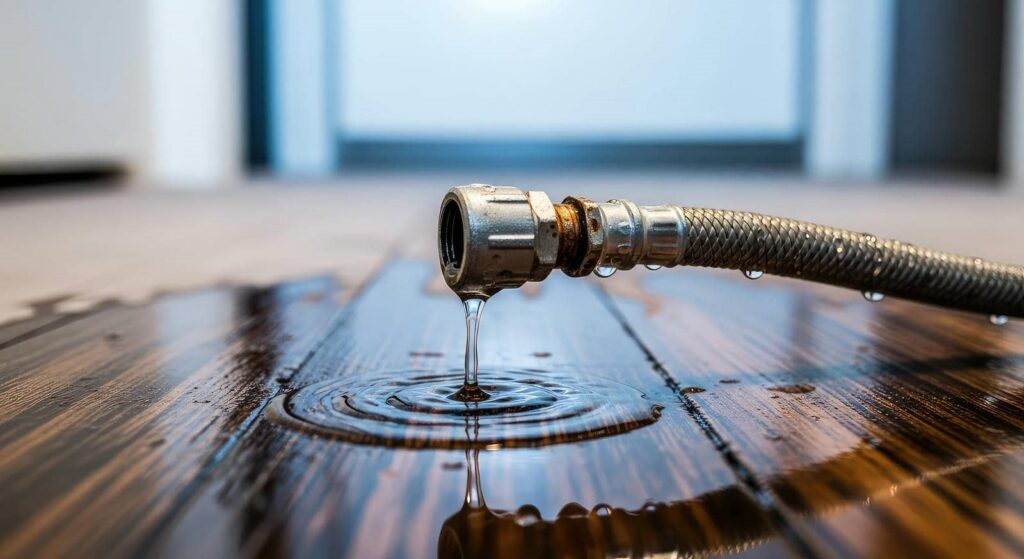
When a pipe bursts, you need to shut off the main water supply and cut power to the affected area right away, then call for help if the leak is severe. Next, inspect each room, document the damage, and start removing standing water. After that, dry surfaces fast, check for mold, and assess what needs repair. The first 24 hours matter most, and what you do next can change the outcome from water damage from burst pipe.
Key Takeaways
- Shut off the main water supply, cut electricity near the leak, and call a licensed plumber immediately.
- Remove standing water quickly with towels or a wet vacuum, then start drying with fans and a dehumidifier.
- Inspect all affected rooms for moisture, hidden leaks, and damage behind walls, under sinks, and around appliances.
- Document damage with clear photos and notes for insurance and repair tracking.
- Wear protective gear during cleanup, remove moldy porous materials, and contact remediation professionals for major contamination.
Stop the Water and Call for Help
First, shut off the main water supply to stop the flow from the burst pipe.
Next, turn off electricity to affected areas if water is near outlets or appliances.
You can keep your crew safe by avoiding wet floors and standing water.
Then call a licensed plumber right away so you can get the line repaired and prevent more water damage from the burst pipe.
If the leak is large, contact your insurer and a water damage restoration team for emergency help.
Share your address, what you see, and when the failure started.
Ask a trusted neighbor or family member to stay with you if you need support.
Stay focused, act fast, and you’ll protect your home and your people.
Inspect Burst Pipe Water Damage
Once the water is shut off and the area is safe, inspect the damage room by room so you can scope the full impact of the burst pipe.
Start at the leak source, then trace moisture along walls, baseboards, floors, and ceilings. Look for staining, swelling, peeling paint, warped trim, and sagging drywall.
Open cabinets and check behind appliances, under sinks, and inside closets, where hidden water often lingers. Use a flashlight to spot damp insulation or dark spots around outlets and vents.
Take clear photos and notes for each affected area so your crew can track repairs later. Mark damaged surfaces with tape or a list.
This careful pass helps you stay organized, work with confidence, and protect your home together.
Dry the Area Quickly
Get the area drying right away so moisture doesn’t keep spreading into walls, floors, and framing. Open windows if weather helps, then run fans to move air across wet surfaces.
Set up a dehumidifier in the center of the space and keep doors open so air can circulate. Remove standing water with a wet vacuum, mop, or towels before you dry anything else.
Pull back rugs, lift furniture legs, and place blocks or foil under them to reduce contact with damp flooring. If you can safely access baseboards, remove them to help air reach hidden moisture.
Check the area often, and keep drying equipment running until surfaces feel dry and humidity drops. Work methodically, and you’ll protect your space and the people who rely on it.
Clean Up Mold and Contamination
After a water-damage event, clean mold and contamination as soon as the affected materials are dry enough to work on.
Put on gloves, an N95 respirator, and eye protection, then isolate the work area with plastic sheeting if you can.
Remove porous items that show mold, sewage, or heavy staining; bag them before you carry them out.
Scrub nonporous surfaces with detergent and warm water, then rinse and dry them fully.
For visible mold on hard surfaces, apply an EPA-registered cleaner and follow the label exactly.
Change wipes, brushes, and water often so you don’t spread spores.
Keep the area ventilated, and discard cleaning cloths in sealed bags.
If contamination smells strong or covers a large area, call a qualified remediation team so your home stays safer.
Assess Structural Damage and Repairs
Next, you should check for load-bearing damage in framing, subfloors, joists, and ceilings before you reopen the area.
Inspect hidden moisture with a meter or thermal scan behind walls, under floors, and inside cavities so you don’t miss trapped water.
Then you can plan the needed repairs, including structural replacement, drying, and any finish work after the structure is stable.
Check Load-Bearing Damage
Once the visible water is under control, inspect load-bearing areas for structural damage before you begin repairs. Start with beams, posts, joists, studs, and bearing walls.
Look for sagging, splitting, rotation, crushed edges, and fasteners that have pulled free. Press gently with a tool; soft spots, movement, or new creaks mean the member may have weakened.
Compare each area to an undamaged section so you can spot deflection quickly. If you find visible bowing, major cracks, or shifting, stop work and call a licensed structural pro.
Until then, shore the area with temporary supports rated for the load. Mark damaged sections, document them, and keep the work zone clear so your team stays safe and stays aligned on the next repair step.
Inspect Hidden Moisture
Now that you’ve checked the obvious structural damage, inspect for hidden moisture behind walls, under flooring, and above ceilings before repairs begin.
Use a moisture meter and, if needed, an infrared camera to map damp areas so you can work with confidence as a team.
Probe baseboards, drywall seams, and trim for soft spots.
Lift carpet edges or flooring junctions and check the underlayment.
Open small inspection points where readings stay elevated.
Verify drying progress until moisture levels match nearby dry materials.
Keep the area ventilated while you monitor readings, and document each finding with photos and notes.
When you catch trapped water early, you protect the structure, prevent lingering odors, and set up the crew for a cleaner recovery.
Plan Necessary Repairs
With the hidden moisture mapped, you can assess what needs repair and sort the work by urgency: structural damage first, then finishes and trim.
Start by checking joists, studs, subfloor, and sill plates for swelling, splitting, or sagging. If you see movement, call a licensed contractor or engineer before you rebuild.
Next, remove drywall, insulation, and baseboards that stayed wet or touched contaminated water. Match replacement materials to the original assembly so your home stays stable and dry.
Document every damaged area with photos, then list materials, labor, and permits.
After that, group tasks into phases: dry-out verification, structural repairs, insulation, drywall, paint, and trim.
When you plan this way, you’ll stay organized, protect your household, and move forward with confidence together.
Prevent Future Burst Pipes
To reduce the risk of another burst pipe, you should insulate exposed plumbing in unheated areas, seal gaps that let cold air reach pipes, and keep indoor temperatures consistent during cold weather.
Next, build a simple prevention routine so you and your household stay protected together.
Inspect basements, crawlspaces, attics, and exterior walls for vulnerable lines.
Test pipe insulation, and replace any cracked or missing sections immediately.
Drain outdoor hoses, shut off exterior valves, and disconnect attachments before freezing.
Schedule a licensed plumber to check pressure, corrosion, and aging joints annually.
You should also know the main shutoff location and label it clearly.
If a deep freeze is forecast, let faucets drip slightly and open cabinet doors to warm pipes.
These steps help your home recover faster and keep your crew ready.
Final Thoughts
You’ve stopped the leak, but the work isn’t over. Now you move from chaos to control: inspect every room, document damage, and dry the space fast with fans and dehumidifiers. Clean mold before it spreads, then check framing, drywall, and flooring for hidden failure. What started as a burst pipe can become a bigger repair if you rush. Finish by fixing the cause, preventing the next break, and restoring your home methodically.