
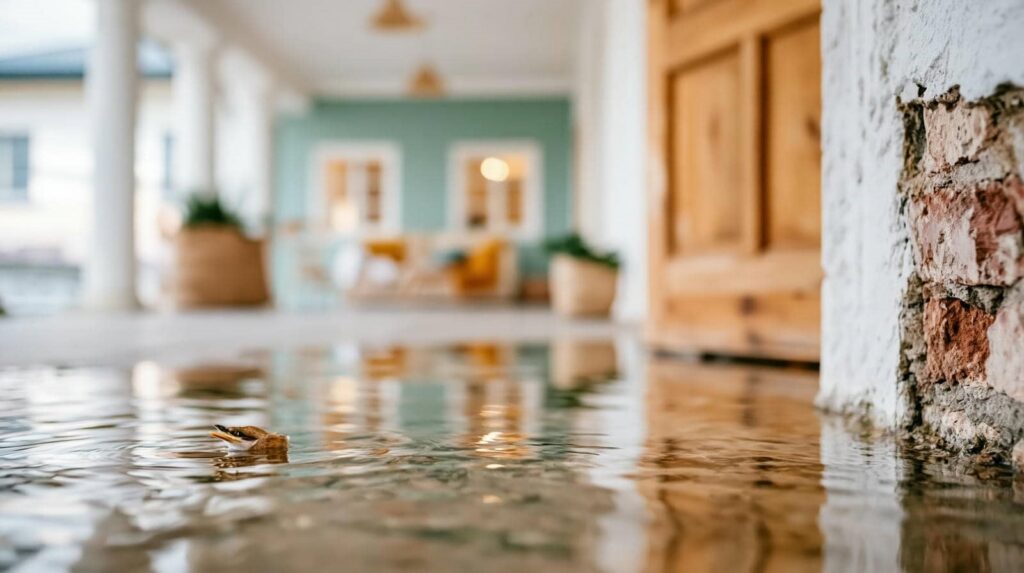
After water damage hits your home or business, you need to act fast and stay methodical. You’ll first check for safety hazards, stop the water source, and protect the area from further exposure. Then you’ll document the damage, remove standing water, and start drying surfaces before hidden moisture leads to mold or structural issues. The next steps can make the difference between a quick recovery and a costly repair when deciding what to do after water damage.
Key Takeaways
- Ensure safety first by checking for electrical hazards, structural damage, gas odors, and contaminated water before entering the area.
- Shut off the water source, isolate the affected area, and move people, pets, and valuables away from the damage.
- Document all damage with photos and notes before removing or cleaning anything for insurance purposes.
- Remove standing water, discard unsalvageable materials, and dry the area quickly with fans and dehumidifiers.
- Call water damage restoration professionals early to detect hidden moisture, prevent mold, and complete thorough repairs.
Check Water Damage Safety Hazards
Before you do anything else, check for safety hazards so you don’t make the damage worse or put yourself at risk. You’ll make better decisions when you assess the space calmly.
Look for sagging ceilings, buckled floors, exposed wiring, gas odors, and contaminated water. If you see any of these, treat the area as unsafe. Wear protective gear if you must enter, and keep children, pets, and coworkers away.
Document visible damage with photos from a safe distance, because that helps you track what changed and supports what to do after water damage. If the source involved sewage, flooding, or chemicals, assume contamination until a professional confirms otherwise.
When you verify hazards first, you protect your team, reduce liability, and stay ready for the next step.
Stop the Water and Secure the Area
Shut off the water source as quickly as you can, then isolate the affected area to prevent further spread. If the leak comes from a fixture, turn the nearest valve clockwise; if you can’t stop it there, close the main supply.
Move people, pets, and essential equipment out of the zone, and keep traffic low so you don’t track moisture into clean spaces. If it’s safe, unplug nearby electrical devices and avoid standing water around outlets.
Place towels or barriers at doorways to slow migration into adjoining rooms. Your goal is simple: contain the damage and create a controlled space for cleanup.
When you act fast and stay methodical, you protect your property and give your team the best start for recovery.
Document the Damage for Insurance
Once the area is safe, document the damage before anything gets moved, cleaned, or discarded. Use your phone or camera to capture wide shots, close-ups, and any visible stains, warped materials, or affected equipment. Photograph each room from multiple angles, then note dates, times, and what you see.
Keep records of the water source, weather conditions, and any actions you’ve already taken. Save receipts for emergency services, temporary repairs, and protective supplies.
Create a simple inventory of damaged items, including model numbers and estimated values. Back up files to cloud storage or email them to yourself so you can access them later.
Clear documentation helps your insurer verify loss quickly and gives your team a shared, reliable record for recovery.
Remove Standing Water and Damaged Materials
You should remove standing water right away with pumps, wet vacuums, or absorbent tools to limit further saturation.
Next, take out damaged materials like soaked drywall, insulation, carpet, and padding that can’t dry safely or fully.
This helps you control moisture, reduce mold risk, and prepare the area for proper repairs.
Remove Standing Water
Start by removing standing water as quickly and safely as possible, since lingering moisture can spread damage and create bigger repair problems.
Use a wet/dry vacuum, sump pump, or mop, depending on the depth and area affected. Work from the edges toward the center so you don’t push water into dry spaces. If power is on near wet floors, shut it off first and keep cords clear.
Open doors and windows to improve airflow, and set fans to move air across surfaces, not directly into hidden cavities.
Check carpets, baseboards, and low spots for trapped moisture, then lift wet rugs or furniture legs to help them dry faster.
Acting fast puts you in control and helps your space recover with less disruption and fewer long-term issues.
Dispose Damaged Materials
Remove anything that’s soaked, swollen, or visibly contaminated so it can’t keep spreading moisture or mold.
You should pull up carpet, pad, drywall, insulation, ceiling tiles, and baseboards that stayed wet too long or show staining, warping, or odor.
Bag smaller items immediately and seal them before disposal.
For contaminated water from sewage, floodwater, or unknown sources, wear gloves, boots, and a mask, and treat porous materials as unsalvageable.
Keep salvageable items apart from debris so you can clean them later with confidence.
Load waste into lined containers or contractor bags, then move it out quickly to reduce humidity and give drying equipment a clear path.
Working together on cleanup helps protect your space, your health, and your team.
Dry the Area Quickly
Once the area is safe, dry it as quickly as possible to limit further damage and reduce the risk of mold. You can support recovery by opening windows, running fans, and using dehumidifiers to pull moisture from the air and materials.
Aim airflow across wet floors, walls, and furnishings, but don’t blow directly into hidden cavities unless you’ve confirmed access. Lift rugs, furniture pads, and contents so air reaches every damp surface.
If you belong to a larger facility team, coordinate power, ventilation, and monitoring so everyone works from the same plan. Check humidity and surface dryness often; steady progress matters more than speed alone.
When you act fast and stay organized, you protect your space, reduce downtime, and help your property return to normal.
Clean and Disinfect Surfaces
With the area dry, clean all affected surfaces with soap and water first, then disinfect anything that may have been contaminated by floodwater, sewage, or mold.
You’ll remove residue, reduce odors, and lower contamination risk by working from the cleanest area to the dirtiest. Use a disinfectant labeled for the surface, and follow the contact time on the product.
Wear gloves and, if needed, eye protection to keep your team safe and confident. Rinse food-contact surfaces after disinfecting, unless the label says otherwise.
Replace heavily damaged porous items that can’t be effectively cleaned. Wipe tools, handles, and fixtures thoroughly, then allow surfaces to air-dry completely.
Check for Hidden Moisture and Mold
You should check behind walls, under flooring, and inside cabinets for trapped moisture with a moisture meter or infrared camera.
Watch for mold growth indicators like musty odors, discoloration, or visible spotting on materials.
If you find elevated moisture or any mold signs, address them quickly so you can stop further damage and keep repairs on track.
Hidden Moisture Checks
Even after visible water is gone, hidden moisture can stay trapped in walls, floors, insulation, and cabinetry, so you need to inspect these areas before repairs begin.
Use a moisture meter to compare affected surfaces with dry areas, and check baseboards, trim, subfloors, and behind appliances. Open access panels and remove small sections only when needed to verify drying.
You should also note any damp smells, cool surfaces, or soft materials, because these clues can guide your next steps.
Keep the space ventilated, run dehumidifiers, and document readings as you work. If you’re part of a team, share findings quickly so everyone stays aligned.
Careful checks now help you avoid hidden damage and move forward with confidence.
Mold Growth Indicators
If moisture lingers after water damage, mold can start to grow quickly, especially in hidden areas that stay warm and damp. You may notice a musty odor, dark spotting on drywall, bubbling paint, warped trim, or soft flooring.
Check closets, baseboards, HVAC returns, insulation, and behind appliances where airflow is limited. Use a moisture meter to confirm elevated readings, since visible stains don’t always show the full extent.
If you find growth, wear gloves and an N95 mask, isolate the area, and keep your team or family out until you’ve cleaned it safely.
Dry the space fast with dehumidifiers and fans, and remove porous materials that stayed wet for more than 24 to 48 hours. Acting early helps you protect your space and restore it with confidence.
Call Water Damage Restoration Experts
Once the area is safe, call water damage restoration experts to assess the source, map the moisture spread, and start mitigation quickly. You’ll get a plan built around drying, containment, and repair, so your space feels manageable again.
Their tools detect hidden dampness in walls, floors, and cavities, while their protocols reduce secondary damage and mold risk.
- Inspect structural materials
- Measure moisture levels
- Extract standing water
- Deploy air movers
- Document repair needs
You don’t have to guess what’s wet or what’s salvageable. A qualified team coordinates with you, explains each step, and helps protect your home or business from avoidable losses.
With prompt action, you can restore stability, limit disruption, and move forward with confidence.
Review
When water damage hits, act fast and keep safety first. You’ll stop the source, document the loss, and clear out standing water before it spreads. Dry every surface, disinfect thoroughly, and watch for hidden moisture or mold that could cause trouble later. If the situation feels like a moving target, bring in restoration experts. They’ll help you restore control, limit damage, and get your home or business back on track.