
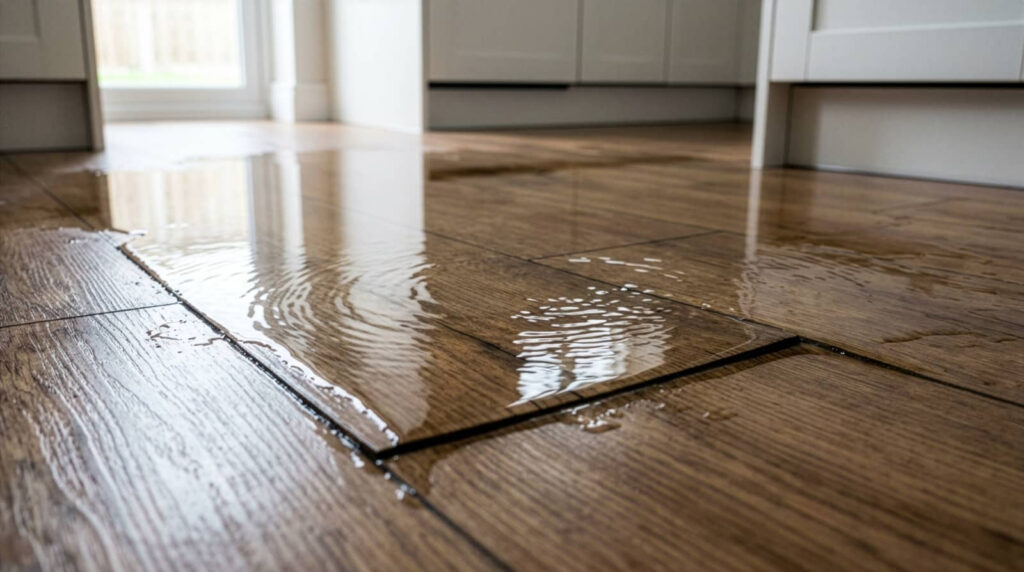
Many U.S. homes files a water damage claim each year, so you need a clear response. You should stop the leak, cut power to wet areas, and remove standing water fast. Then dry walls, floors, and air, inspect for hidden mold, and decide what you can salvage before you clean and repair. The details matter, because one missed step can turn a minor loss into a major one.
Key Takeaways
- Stop the water source, shut off power to affected areas, and keep everyone away from wet electrical hazards.
- Remove standing water quickly using pumps, mops, or a wet/dry vacuum to reduce further damage.
- Dry walls, floors, and air with fans, dehumidifiers, and ventilation until moisture levels return to normal.
- Inspect for hidden mold, damaged insulation, and structural issues behind walls, under floors, and around trim.
- Clean, disinfect, and repair salvageable materials, and call a professional for severe damage or electrical contamination.
Stop the Leak and Cut Power
First, stop the source of water and shut off power to the affected area if there’s any risk of electrical contact.
You then trace the leak to its origin, close the nearest valve, and verify that no new moisture is entering the structure. If the supply line, appliance, or fixture continues to discharge, you isolate it immediately.
Next, you keep everyone clear of wet outlets, switches, and cords until you’ve confirmed the circuit is dead. This step is central to how to fix water damage in a house, because it limits further saturation and reduces shock hazards.
Work methodically, document visible conditions, and notify your household so everyone follows the same safety plan.
Once the leak is controlled and power is secure, you’re ready for the next recovery step.
Remove Standing Water Fast
With the leak stopped and the area safe, remove any standing water as quickly as possible to limit absorption into flooring, drywall, and framing.
Use a wet/dry vacuum for shallow pools, then switch to mops, squeegees, or a pump for deeper water. Work from the outer edges toward the center so you don’t spread contamination. Keep buckets moving and empty them often.
If you’re in a team, assign one person to collect water and another to clear pathways so the job stays efficient.
- Start at the lowest point.
- Use the right tool for the depth.
- Lift saturated rugs and pads.
- Dispose of dirty water safely.
Move methodically and keep checking for hidden pockets under appliances or baseboards.
Dry Water-Damaged Walls, Floors, and Air
Once the standing water is gone, you need to dry the walls, floors, and air as fast as possible to limit swelling, warping, and mold growth.
Open windows if outdoor air is dry, and run fans to move air across wet surfaces. Set dehumidifiers in the affected rooms and empty them regularly.
Remove baseboards, lift carpet edges, and pull back padding so hidden moisture can escape. Wipe hard surfaces with clean towels, then monitor humidity and surface moisture until readings return to normal.
Keep HVAC filters clean, and use your home’s ventilation system if it’s unaffected.
Work methodically from the driest area toward the wettest, so you don’t spread moisture. Stay patient, stay organized, and keep each space moving toward full recovery together.
Inspect for Mold Behind Walls and Under Floors
You should inspect walls and flooring for hidden mold after drying, since moisture can remain in cavities and subfloors.
Look for stains, musty odor, warped materials, and discoloration that signal concealed growth.
Check behind baseboards, inside wall openings, and under flooring with a moisture meter and direct visual review.
Signs of Hidden Mold
If moisture has been present for more than a short time, inspect for hidden mold behind walls and under floors, since damp cavities can support growth even when surfaces look dry. You’re looking for subtle signs that help your crew stay safe and coordinated.
A musty odor that lingers after drying.
Discoloration, staining, or dark spotting near water paths.
Peeling paint, swollen trim, or warped flooring.
Allergy symptoms that worsen in the room.
Use a flashlight and note any recurring odor source, because mold often spreads where airflow stays low.
If you spot these indicators, treat the area as contaminated until you confirm conditions are safe. Working methodically helps you protect the home and keep everyone informed, calm, and included.
Checking Walls and Floors
Start by checking walls and floors for concealed mold where water may have seeped into cavities. You should tap drywall, listen for hollow or soft spots, and mark any discoloration, swelling, or separation at seams.
Remove baseboards, lift carpeting, and inspect underlayment and subflooring for dark staining, musty odor, or fuzzy growth. Use a moisture meter to compare readings in suspect areas with dry sections nearby.
If you find elevated moisture, open a small inspection cut to verify the extent before larger demolition. Wear gloves, an N95 mask, and eye protection, and isolate the area so your household stays safe together.
Document each finding with photos and notes, then dry, clean, and replace only the materials that can’t be salvaged.
Decide What You Can Salvage
Sort materials by exposure time and material type, then separate anything porous, swollen, stained, or mold-prone for closer inspection.
You can usually salvage items that dried quickly, kept their shape, and show no odor or discoloration. Use a flashlight and note texture, warping, and residue so you don’t guess.
If you’re working with your home team, stay consistent and label each item the same way.
- Hard surfaces with intact finish
- Metal fixtures without rust
- Glass, ceramic, and sealed stone
- Electronics only if they stayed dry
Hold back anything you can’t verify.
Compare each item’s condition against nearby damage, and keep the clean, stable pieces together. That method helps you protect what’s worth saving and move forward with confidence.
Remove Unsalvageable Materials Safely
With salvage decisions made, remove damaged materials that can’t be dried, cleaned, or stabilized without spreading contamination. You should wear gloves, eye protection, and an N95 respirator, then isolate the work zone with plastic sheeting if needed.
Cut out wet drywall, insulation, carpet, underlayment, and baseboards in manageable sections, keeping tools controlled to avoid tearing hidden materials. Bag debris immediately in heavy-duty contractor bags and seal each bag before you move it through the house.
If framing, subfloor, or trim still feels soft, warped, or delaminated, mark it for replacement too. Keep pathways clear, lift carefully, and ask for help with bulky sections so you stay safe and keep the rest of your home protected.
Clean and Disinfect Affected Areas
Once the damaged materials are gone, clean every exposed surface with soap and water to remove dirt, residue, and biofilm before you disinfect. You’ll help prevent contamination by working top to bottom and using clean cloths or microfiber pads.
Rinse away detergent, then apply an EPA-registered disinfectant at the label’s contact time. Ventilate the space so you and your household can stay comfortable.
- Wear gloves and eye protection.
- Mix solutions exactly as directed.
- Replace dirty cloths often.
- Wash hands after you finish.
Focus on hard, nonporous surfaces that stayed wet, and treat them methodically. If you’re unsure about product compatibility, test a small area first.
Consistent technique protects your home and helps you feel confident in the cleanup.
Fix Damaged Drywall, Flooring, and Trim
Cut out and replace any drywall, flooring, or trim that stayed soaked long enough to swell, warp, crumble, or delaminate. You should remove damaged sections back to solid material, then check framing and subfloor for hidden softness or staining.
Measure replacement pieces carefully, then cut new drywall, boards, or trim to fit tight seams. Fasten drywall to clean studs, tape joints, and finish with compound in thin coats.
Reinstall flooring only after the substrate feels firm and flat; match underlayment and secure each piece per manufacturer guidance. Prime exposed edges before painting or sealing, and caulk trim joints where they meet finished surfaces.
Work methodically so each repair blends cleanly and your space feels sound, orderly, and ready for everyday use.
Prevent Future Water Damage
After you’ve repaired the visible damage, reduce the chance of repeat problems by addressing the source of moisture and the conditions that let it spread. You’ll protect your home and feel more in control when you build a routine that catches small leaks early and keeps humidity in check.
Inspect supply lines, drains, and appliance hoses monthly.
Clear gutters, downspouts, and exterior drains so water moves away from the foundation.
Seal gaps around windows, doors, and pipe penetrations with the right caulk.
Run bath and kitchen exhaust fans during and after use, and monitor indoor humidity.
You can also grade soil away from the house and keep sump systems maintained.
These steady habits create a safer, drier home for everyone inside.
Call a Pro for Severe Damage
If the water has soaked structural materials, reached electrical systems, or spread mold across a large area, you should call a qualified restoration professional right away.
You can still protect your home by shutting off power to affected circuits, limiting access, and documenting visible damage for insurance.
A pro will assess hidden moisture with meters, open cavities safely, and set up high-capacity drying and containment equipment.
They’ll also test for contamination, remove unsalvageable materials, and verify that framing, insulation, and wiring are safe before repairs begin.
When you work with an experienced team, you’re not handling this alone; you’re following a proven recovery process with people who know how to restore your space correctly and help your household move forward with confidence.
Frequently Asked Questions
How Do I Document Water Damage for Insurance Claims?
You document water damage by photographing every affected area, recording dates, listing damaged items, saving receipts, and noting moisture readings. Then you notify your insurer promptly and keep copies of all communications and estimates.
When Should I Replace Insulation After a Leak?
You should replace insulation after a leak when it’s soaked, compressed, moldy, or can’t dry within 24–48 hours. You’ll protect your space, preserve performance, and prevent persistent problems with precise, practical action.
How Can I Tell if Subflooring Is Structurally Weakened?
You can tell if your subflooring’s weakened by checking for soft spots, sagging, squeaks, delamination, mold, or fastener pullout. Probe with an awl; if it feels spongy, you’ll need further inspection and likely replacement.
What Tools Help Detect Hidden Moisture in Walls?
Moisture meters, infrared cameras, and hygrometers help you detect hidden wall moisture. You’ll spot damp readings, cool thermal patterns, and elevated humidity fast, so you can verify damage, track drying, and avoid missed wet pockets.
How Long Does Water Damage Recovery Usually Take?
You’ll usually recover from minor water damage in 3–7 days, while moderate cases take 1–2 weeks. Severe damage can need several weeks, depending on drying, mold checks, and repairs.
Recap
By acting quickly, you’ve limited the setback and kept the job on safer footing. Once you stop the leak, clear the water, and thoroughly dry the structure, you can assess what’s worth restoring and what’s beyond practical recovery. Clean, repair, and monitor for hidden trouble, then make a few preventive checks part of your routine. If the damage is extensive, it’s wise to let a restoration professional take the reins.