
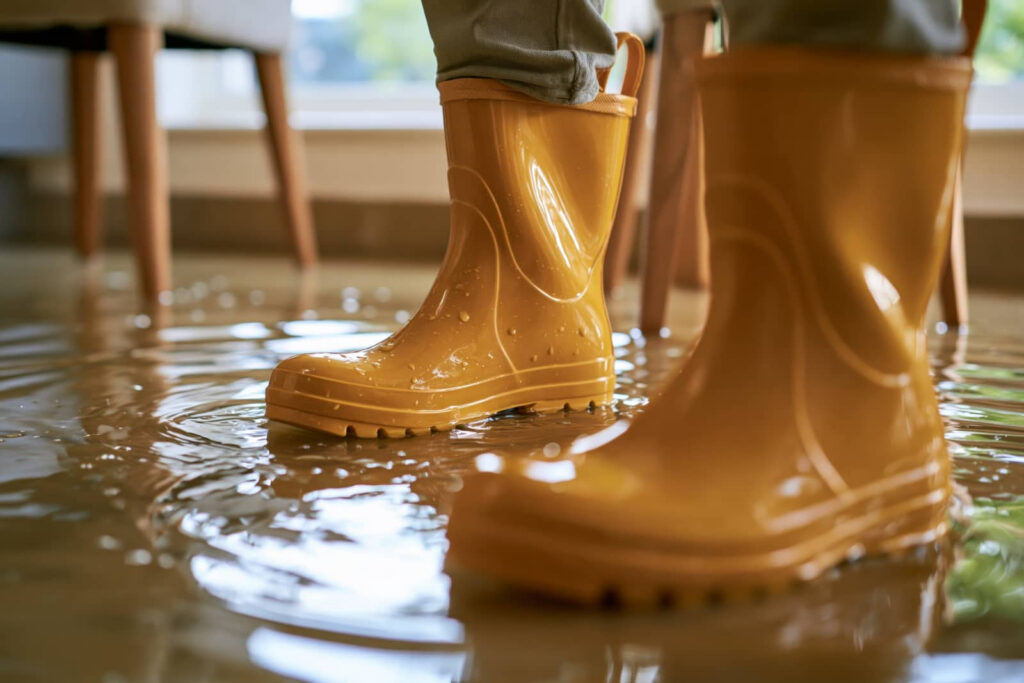
When water gets into your home, you need to act fast to limit damage to walls, floors, insulation, and framing. Water damage repair should begin by stopping the source, drying the affected area, and watching for mold or hidden structural issues before they worsen. Insurance, cleanup, and repair decisions can get complicated quickly, especially after flooding or storms. Knowing what to address first, what you can safely handle yourself, and when to bring in a professional can help protect your home.
Key Takeaways
- Stop the water source immediately, then move belongings and contain the wet area to limit further damage.
- Dry affected walls, floors, and ceilings quickly with fans, dehumidifiers, and ventilation to prevent mold growth.
- Remove contaminated porous materials and clean hard surfaces safely, using professionals for widespread mold or contamination.
- Inspect framing, subfloors, and electrical systems for structural damage, and repair or replace compromised materials to restore safety.
- Document damage, notify your insurer promptly, and call professionals when water reaches insulation, hidden spaces, or major systems.
What Water Damage Repair Covers
Water damage repair covers the work needed to restore walls, floors, ceilings, and structural materials after leaks, flooding, burst pipes, or storm damage.
You’ll usually address soaked drywall, warped flooring, stained insulation, damaged trim, and compromised framing. The process also includes evaluating how far moisture reached so you can match the right repair method to each material.
With water damage repair, you’re not just fixing what you can see; you’re restoring the parts that hold your space together. That means you can bring your home back to a safe, solid condition and feel confident again in your environment.
When you understand what’s included, you’re better prepared to work with the team, ask clear questions, and stay connected to the recovery process.
Stop Water Damage Before It Spreads
First, shut off the water source to stop new damage at the origin.
Next, contain the affected area with towels, barriers, or plastic sheeting to limit spread into nearby rooms.
Then move belongings quickly out of the wet zone so you can protect them and clear space for drying and repair.
Shut Off Water Source
Before the damage can spread, shut off the water at the main valve or the nearest supply line to stop the flow fast.
If you can’t find the valve, check under sinks, behind toilets, near the water heater, or where the line enters your home. Turn the handle clockwise until it stops, and don’t force a stuck valve.
If the leak comes from a fixture, closing that fixture’s supply line may be enough. After the flow stops, test nearby faucets briefly to release pressure and confirm the shutoff worked.
If water keeps moving, call a plumber right away. Acting quickly helps protect your home, your repairs, and the people who live there.
You’re not dealing with this alone; a calm, fast response gives your space the best chance to recover.
Contain Affected Area
Once the source is off, focus on keeping the damage in one place so it doesn’t travel into other rooms or materials. You can close interior doors, set towels along door gaps, and use plastic sheeting to block splashing or wicking.
If water is pooling on hard flooring, place absorbent barriers around the edge and create a clear path for safe cleanup. Keep airflow moving across the wet zone with fans, but aim them so you’re not blowing moisture into untouched areas.
Check nearby baseboards, drywall, and carpeting for hidden spread. If you live in a multiunit building, alert neighbors or building staff early. Acting now helps your space stay manageable, and you’re protecting the home your household relies on together.
Move Belongings Quickly
Move furniture, rugs, electronics, and loose storage out of the wet area as soon as you can so moisture doesn’t keep wicking into them.
Keep your team focused: lift, carry, and place each item on a dry surface or blocking pads. Unplug electronics first, and don’t touch anything that’s in standing water until power is safe.
- Move light items before heavy furniture.
- Separate wet fabrics from dry goods.
- Photograph damage for insurance records.
- Use tarps or clean sheets for temporary protection.
Quick action limits staining, swelling, and mold growth, and it helps you feel more in control.
If belongings are saturated, call a restoration pro so you’re not handling contaminated materials alone. You’ve got this, and every saved item makes recovery easier.
Dry Out Walls, Floors, and Ceilings
Start drying affected walls, floors, and ceilings as soon as possible to limit further damage and reduce the risk of mold and structural deterioration.
Open windows if weather permits, run fans to move air across wet surfaces, and use dehumidifiers to pull moisture from the space.
Lift carpeting and baseboards when you can, and expose hidden areas so trapped water doesn’t linger.
If you’re dealing with drywall, insulation, or ceiling materials, check for sagging or softness and dry them from both sides when possible.
Keep indoor humidity low and monitor progress daily with a moisture meter or by touch.
You’re not alone in this step; steady, methodical drying gives your home the best chance to recover safely and completely.
Remove Mold and Contaminated Materials
Now that the area is dry, remove any mold growth and discard materials that you can’t safely clean.
Wear gloves, an N95 or better, and eye protection before you start. Bag porous items like soaked insulation, carpet padding, and warped drywall if mold has spread through them.
Clean hard surfaces with detergent and water, then dry them again. Keep the room ventilated, and don’t mix cleaners.
If you see widespread growth, a strong odor, or recurring spots, call a qualified remediation pro. You’re not dealing with this alone; careful cleanup protects everyone in the space.
- Seal debris in heavy bags
- Wipe salvageable surfaces thoroughly
- Rinse tools after use
- Check hidden corners for missed growth
Repair Structural Damage
Next, you’ll assess the framing for soft spots, warping, and any loss of load-bearing strength after the water exposure.
You’ll replace or sister damaged members where needed, then reinforce weak areas to restore stability.
This step helps make sure the structure is safe, sound, and ready for the next phase of repair.
Assess Framing Damage
If water has soaked the structure, you’ll need to inspect the framing for warping, swelling, rot, and splits before you repair or replace any damaged members.
Check studs, joists, rafters, and sill plates with a flashlight, awl, and level. Tap surfaces for soft spots and look for discoloration, mold, and fastener rust. If wood crumbles or feels spongy, mark it for removal.
- Measure out-of-plane bending and twist.
- Probe suspected decay at joints and ends.
- Compare adjoining members for hidden movement.
- Photograph damage for your records and crew.
You’re not alone in this process; careful assessment helps you protect the whole assembly.
When you document every issue, you’ll make smarter repair decisions and avoid overlooking framing that still needs attention.
Reinforce Weak Structures
Once you’ve identified structural damage, you can stabilize weak framing before you close the wall back up.
You’ll strengthen studs, joists, and plates with sistered lumber, steel plates, or approved structural adhesive, depending on the load and extent of rot.
Replace any soft, split, or mold-ruined members rather than trying to patch them.
Use corrosion-resistant fasteners and follow local code so your repair matches the rest of the structure.
If floor or roof framing has sagged, add temporary supports first, then lift slowly to avoid cracking finishes.
Check that anchors and connections are tight, square, and dry before you reinstall insulation and drywall.
When you repair the frame carefully, you protect your home and help everyone inside feel secure again.
How to Handle Flood and Storm Damage
When flood or storm damage hits, you should act quickly to limit further harm and start the recovery process. First, shut off electricity if water’s near outlets, then wear boots, gloves, and a mask.
Next, remove standing water with pumps or wet vacs, and open windows if conditions are safe. You’ll protect your home and the crew by documenting damaged materials as you go. Move salvageable items to a dry, ventilated space.
Then dry framing, subfloors, and insulation fast to reduce hidden moisture. Stay with the process:
- Inspect for safety hazards
- Extract water immediately
- Dry structural materials
- Remove unsalvageable debris
You’re not facing this alone; careful, steady action helps your property recover.
What Insurance Covers After Water Damage
After you’ve handled the immediate flood or storm cleanup, the next step is figuring out what your policy will pay for and what it won’t.
You’ll usually get coverage for sudden, accidental damage from burst pipes, appliance failures, roof leaks tied to storms, and the resulting repairs to drywall, flooring, insulation, and personal belongings. Your policy may also cover water extraction, temporary lodging, and mold removal if you act quickly and the cause is covered.
It won’t usually pay for flooding from rising groundwater unless you carry separate flood insurance, and it often excludes slow leaks, poor maintenance, and preexisting rot.
Review your deductible, document every loss with photos, receipts, and dates, and notify your insurer fast. If you stay organized, you’ll move through claims with confidence and feel less alone.
When to DIY and When to Call a Pro
If the damage is small and the materials are dry, you can often handle cleanup and minor repairs yourself.
But once water reaches insulation, subfloors, electrical systems, or structural framing, it’s time to call a professional. You can manage surface drying, damaged paint, and small drywall cuts with careful tools and patience.
Stay within your limits, and trust the signs your home gives you.
- Use a dehumidifier for light moisture
- Replace only clearly ruined trim or drywall
- Stop if you smell mildew or see swelling
- Call pros for hidden or widespread damage
You’re not overreacting by asking for help. A trained crew can measure moisture, remove compromised materials, and restore your space safely, so you can get back to normal with confidence.
Prevent Water Damage at Home
Prevention starts with routine checks, because small leaks are much easier to fix before they turn into major repairs. Inspect under sinks, around toilets, and behind appliances for drips, rust, or swelling.
Test caulking and replace cracked seals before water sneaks in. Clean gutters, extend downspouts, and keep grading sloped away from your foundation so rain doesn’t pool near your home.
Insulate exposed pipes in cold areas to reduce freezing risk. Set a water alarm near the water heater, dishwasher, and laundry area.
Know where your shutoff valve is, and make sure everyone in your household can reach it fast. With these habits, you’re protecting your home and joining the many owners who stay ahead of costly damage.
Frequently Asked Questions
How Long Does Water Damage Repair Usually Take?
Usually, you’ll need 3 to 7 days for minor water damage repair, while larger losses can take weeks. You’ll get faster results when you act quickly, dry materials thoroughly, and coordinate inspections and rebuilding.
Can Water-Damaged Carpet Be Saved After Flooding?
Yes, you can sometimes save it if you act fast, extract water, dry it thoroughly, and disinfect it. But if it’s contaminated, soaked too long, or smells musty, you should replace it.
How Do I Detect Hidden Moisture Behind Walls?
You can detect hidden moisture behind walls with a moisture meter, infrared camera, and careful checks for musty odors, swelling, or cold spots. If readings stay high, you’ll know moisture’s trapped and need drying.
Will My Belongings Need Professional Cleaning After Water Exposure?
It depends, but you’ll often need professional cleaning for porous or contaminated items. You can trust a restoration specialist to assess fabrics, electronics, and valuables, remove odors, and prevent mold, helping your belongings feel cared for.
What Signs Show Water Damage Is Getting Worse?
You’ll see worsening water damage when stains spread, paint blisters, drywall softens, floors warp, odors intensify, mold appears, or leaks return. Act fast, dry the area, and call a pro if structural materials keep changing.
Final Thoughts
You can’t stop every leak, flood, or storm, but you can control the damage they leave behind. Act fast: shut off water, dry surfaces, and remove contaminated materials before problems spread. Then repair what you can see, and call a pro when structure, mold, or hidden moisture is involved. Check your insurance, document everything, and use alarms, inspections, and routine maintenance to prevent the next emergency.