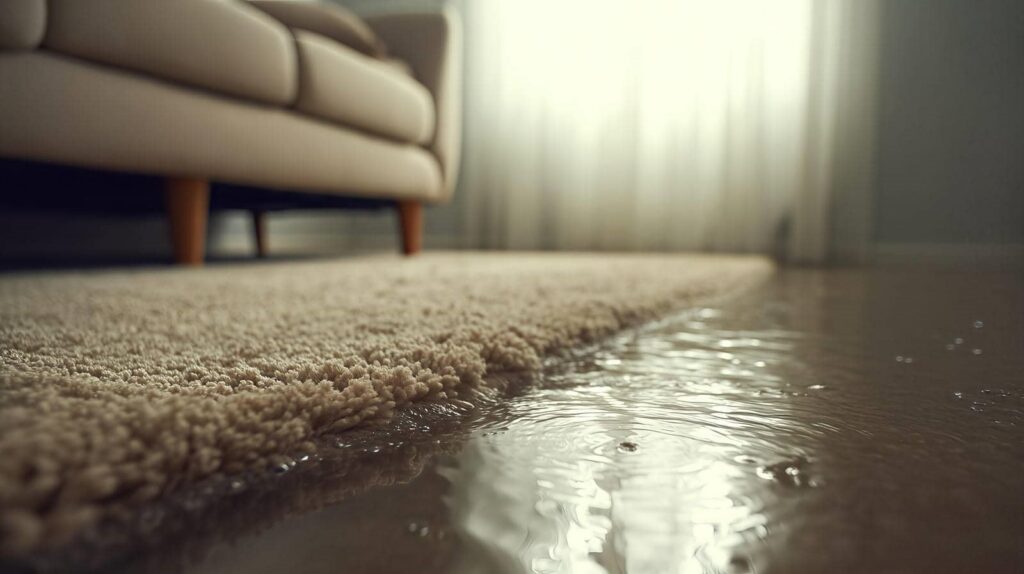
Like any hidden leak in a locked room, water damage often reveals more than you first see. You’ll start with a full inspection, moisture mapping, and fast water extraction, then drying, cleaning, and odor control follow in a controlled sequence. Technicians track moisture levels and adjust equipment as needed, while keeping you informed. Some delays are normal, and what happens next can determine how fully your property recovers when working with the water damage mitigation process.
Key Takeaways
- Mitigation starts with safety checks, stopping the water source, and protecting people and pets from wet areas.
- Technicians inspect the damage, map moisture, and document affected materials before drying begins.
- Standing water is removed quickly using pumps, wet vacuums, and specialized extraction equipment.
- Controlled drying uses air movers and dehumidifiers, with daily moisture readings to track progress.
- Cleanup and deodorization follow, while owners receive updates on timelines, setbacks, and next steps.
What Water Damage Mitigation Includes
Water damage mitigation includes a methodical sequence of steps designed to limit further harm to your property.
In the water damage mitigation process, you’ll receive a focused inspection, targeted water extraction, controlled drying, moisture tracking, and thorough cleanup. Each phase helps reduce hidden damage and supports a stable recovery path for your home or business.
You can expect technicians to assess affected materials, measure conditions, and adjust equipment as needed, so you’re not left guessing. This approach gives you clear structure and steady progress, which matters when you’re managing an unexpected loss.
First Steps After Water Damage
Right after a water loss, you should make the area safe, stop the source if you can do so without risk, and contact a qualified mitigation team quickly.
Then, shut off electricity to wet zones if it’s safe, and keep people and pets away from saturated rooms.
Remove only small, dry items you can handle without spreading contamination; leave heavy contents in place for the crew.
Open doors and, if conditions allow, windows to improve air movement, but don’t use fans on standing water.
Document what happened with photos and a brief list for your records and insurance.
When your mitigation team arrives, they’ll guide the next steps and help you feel supported.
Acting promptly protects the structure, limits secondary damage, and keeps your property on the right recovery path.
Inspection and Moisture Mapping
You’ll start with a visual damage inspection to identify affected materials, surface staining, warping, and any signs of hidden intrusion.
Next, you’ll use moisture detection tools to map damp areas and define the full spread of water within walls, floors, and cavities. This step gives you a clear baseline so you can target drying and prevent further damage with confidence.
Visual Damage Inspection
A careful visual inspection sets the foundation for effective moisture mapping. You’ll see the technician examine walls, ceilings, floors, trim, and cabinets for staining, swelling, warping, peeling paint, and soft spots.
They’ll note the water’s path, the affected materials, and any signs of hidden intrusion around baseboards, outlets, and seams. This step helps you and the mitigation team share a clear picture of the damage, so everyone stays aligned on next actions.
The technician may photograph conditions and mark affected areas to organize the worksite. By documenting what’s visible first, your team can build a reliable plan, reduce guesswork, and protect unaffected spaces.
You’re not facing this alone; a thorough inspection gives your property the structured attention it needs.
Moisture Detection Mapping
Moisture detection mapping pinpoints where water has spread and how deeply it has penetrated. You’ll see your technician use moisture meters, thermal imaging, and targeted probing to verify what the eye can’t catch.
They’ll document readings room by room, compare surfaces, and mark affected areas on a floor plan so you can track the full impact. This process helps your team decide where to extract, dry, and monitor next.
Because hidden moisture can linger in drywall, subflooring, and framing, mapping reduces guesswork and keeps your property on the right recovery path. You’re not left wondering what’s happening; you’re getting a clear, shared record that guides each step with confidence and keeps everyone aligned.
Water Extraction and Removal
Water is extracted quickly to stop further spread and reduce structural damage.
Your mitigation team then uses pumps, wet vacuums, and specialty extraction tools to remove standing water from floors, carpets, and hidden cavities. They work in a measured sequence, starting with the heaviest saturation and moving through affected zones so you can see steady progress.
This step lowers the chance of material breakdown and helps your property return to a stable condition. You’ll know the work is controlled because technicians check each area, adjust equipment, and document removal as they go.
If you’re worried about disruption, you’re not alone; this phase is designed to be efficient, organized, and reassuring.
Drying the Structure and Contents
Once the standing water is removed, your mitigation team begins controlled drying to pull hidden moisture out of structural materials and contents.
They set up air movers and dehumidifiers to reduce dampness in walls, floors, cabinets, and furnishings without adding stress to the building.
You’ll usually see targeted airflow directed across surfaces, while warm, dry air helps evaporation move steadily from saturated materials.
Delicate items may be relocated, grouped, or protected so they can dry safely.
This stage keeps your property on a predictable recovery path and helps prevent lingering odors, swelling, and deterioration.
Your crew works methodically, adjusting equipment placement as conditions change, so you can feel confident that each affected area is getting the attention it needs.
How Moisture Is Tracked to Dryness
To verify drying progress, your mitigation team takes repeated moisture readings in the structure and contents. You’ll see them compare each reading to a baseline, so they can confirm the materials are moving toward normal conditions. They use meters, probes, and sensors to check hidden cavities, flooring, framing, and furnishings without guessing.
Baseline readings document the wettest areas.
Daily checks show whether moisture is dropping steadily.
Air movers and dehumidifiers get adjusted from the data.
Final readings confirm the affected spaces have reached target dryness.
This method keeps your project on track and gives you clear proof that drying is complete. You’re part of a process built on measurable results, steady communication, and a team that knows how to guide you through each step.
Cleaning, Sanitizing, and Odor Control
Once drying is complete, you clean affected surfaces with the right detergents and tools to remove residue, contaminants, and visible staining.
You then sanitize the area to reduce microbial load and support a safe indoor environment.
To control lingering odors, you use targeted methods such as air filtration, deodorization, and source removal when needed.
Surface Cleaning Steps
After the area is dry, you’ll need to clean every affected surface to remove residue, reduce microbial growth, and control lingering odors. You’ll work methodically, and your mitigation team will help you feel confident at each step.
Remove loose debris and vacuum dust from floors, trim, and cavities.
Wash hard surfaces with a suitable detergent, then rinse and dry them.
Apply an approved sanitizer to nonporous areas and let it contact long enough.
Wipe porous, salvageable materials carefully, then inspect for staining or damage.
You should also clean tools, affected fixtures, and hidden contact points.
Good surface cleaning supports a healthier indoor environment and keeps your property’s recovery on track.
Odor Removal Methods
Even when the visible water is gone, odors can linger in damp materials, hidden cavities, and porous surfaces. So you’ll need a targeted approach that combines cleaning, sanitizing, and odor control.
First, your mitigation team should remove debris, vacuum dry residue, and wash affected surfaces with approved detergents to lift odor-causing soils.
Next, they’ll apply sanitizers to reduce microbial growth that can keep producing musty smells.
For trapped odors, they may use HEPA filtration, air movers, and specialized deodorizers such as hydroxyl or thermal fogging, depending on the material and damage level.
You can expect your team to monitor moisture and air quality until sources are controlled.
This method helps you regain a clean, healthy space with confidence and support.
Common Delays in Water Damage Mitigation
Common delays in water damage mitigation often start with late inspection, because moisture keeps spreading while the source remains unaddressed. You can reduce setbacks when you act fast and keep your team informed.
Typical hold-ups include:
- Hidden moisture that needs targeted tracking
- Limited access to affected rooms or wall cavities
- Slow equipment placement or power issues
- Insurance approval pauses before work can move ahead
When you understand these delays, you’re better prepared to stay steady and make quick decisions.
A qualified crew will explain what’s slowing progress, document conditions, and keep the process organized. You’re not alone in this; clear communication helps your property recover with less disruption and fewer surprises.
What Property Owners Should Expect Next
Once the crew has identified the source and documented the damage, you can expect the mitigation process to move in a clear sequence: inspection, water extraction, controlled drying, and moisture monitoring.
Technicians’ll map affected materials, set containment if needed, and remove standing water with calibrated pumps and vacuums.
Next, they’ll position air movers and dehumidifiers to lower humidity and stabilize surfaces.
You’ll see daily moisture checks in framing, drywall, and flooring so the team can confirm drying targets and adjust equipment.
If materials can’t be restored, they’ll explain removal options before work proceeds.
Throughout, you should receive updates, timelines, and clear answers, so you’re never left guessing.
Summary
You can expect a steady, systematic finish to the water damage mitigation process. Technicians will keep extracting water, drying hidden spaces, and checking moisture until your property reaches safe, stable levels. They’ll also clean, sanitize, and control odors to prevent lingering issues. If delays arise, they’ll explain them clearly and keep you updated. With careful monitoring and clear communication, you’ll see a calm, clean, and controlled path back to normal.